CD Spectroscope
Make a truth teller for light.
Turn an old CD into a spectroscope to analyze light—you may be surprised by what you see. Try pointing your CD spectroscope at the fluorescent light in your room, sunlit clouds in the sky, even your friend’s colored shirt to reveal the wavelengths of light that mix together to create the color you see!
Topic


- A compact disc (CD)
- A cardboard tube that's at least 12 inches long (approximately 30 centimeters) and 3 to 4 inches (7.5 to 10 centimeters) in diameter
- Two covers for the cardboard tube—we suggest two flat pieces of cardboard large enough to cover each end of the tube, or you can also use the plastic covers that come with a cardboard packing tube.
- Razor knife such as an X-ACTO knife
- Tape
- Access to fluorescent light
- Saw
- Cutting guide (scaled for a 3-inch tube)—PDF included
- Access to a printer
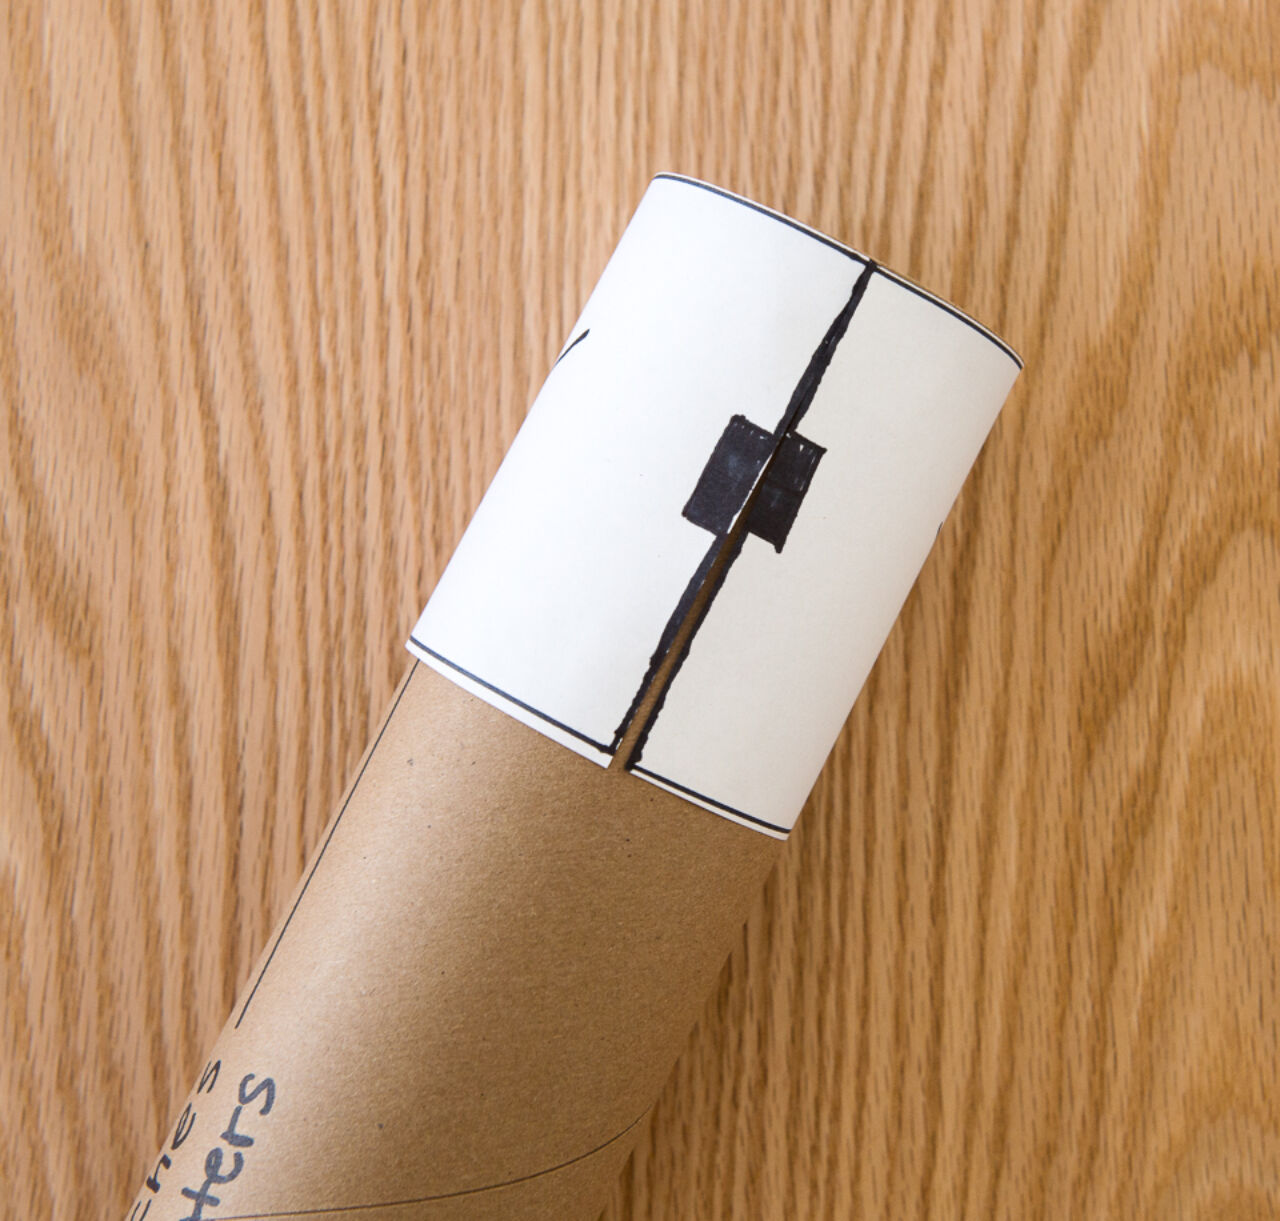
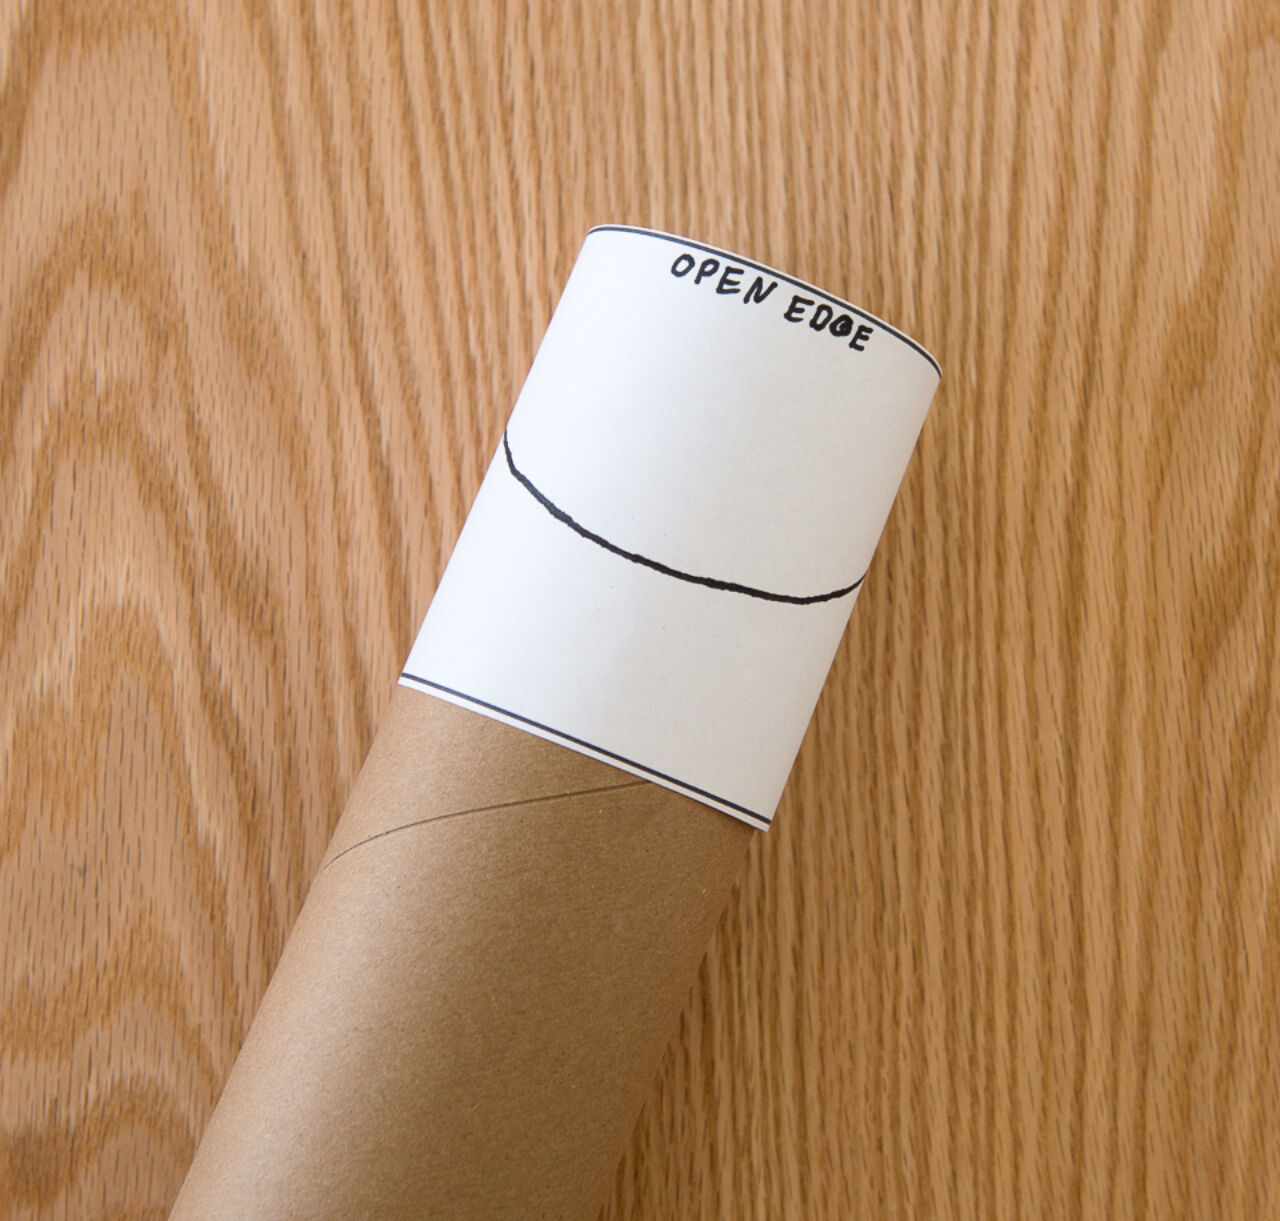
- To help you build your spectroscope, we’ve created a cutting guide (PDF included). Print the cutting guide and wrap it around your tube. We’ve scaled the guide for a standard 3-in packing tube. If needed, you can scale the guide to ensure it wraps around your tube without a gap or overlap (see below).
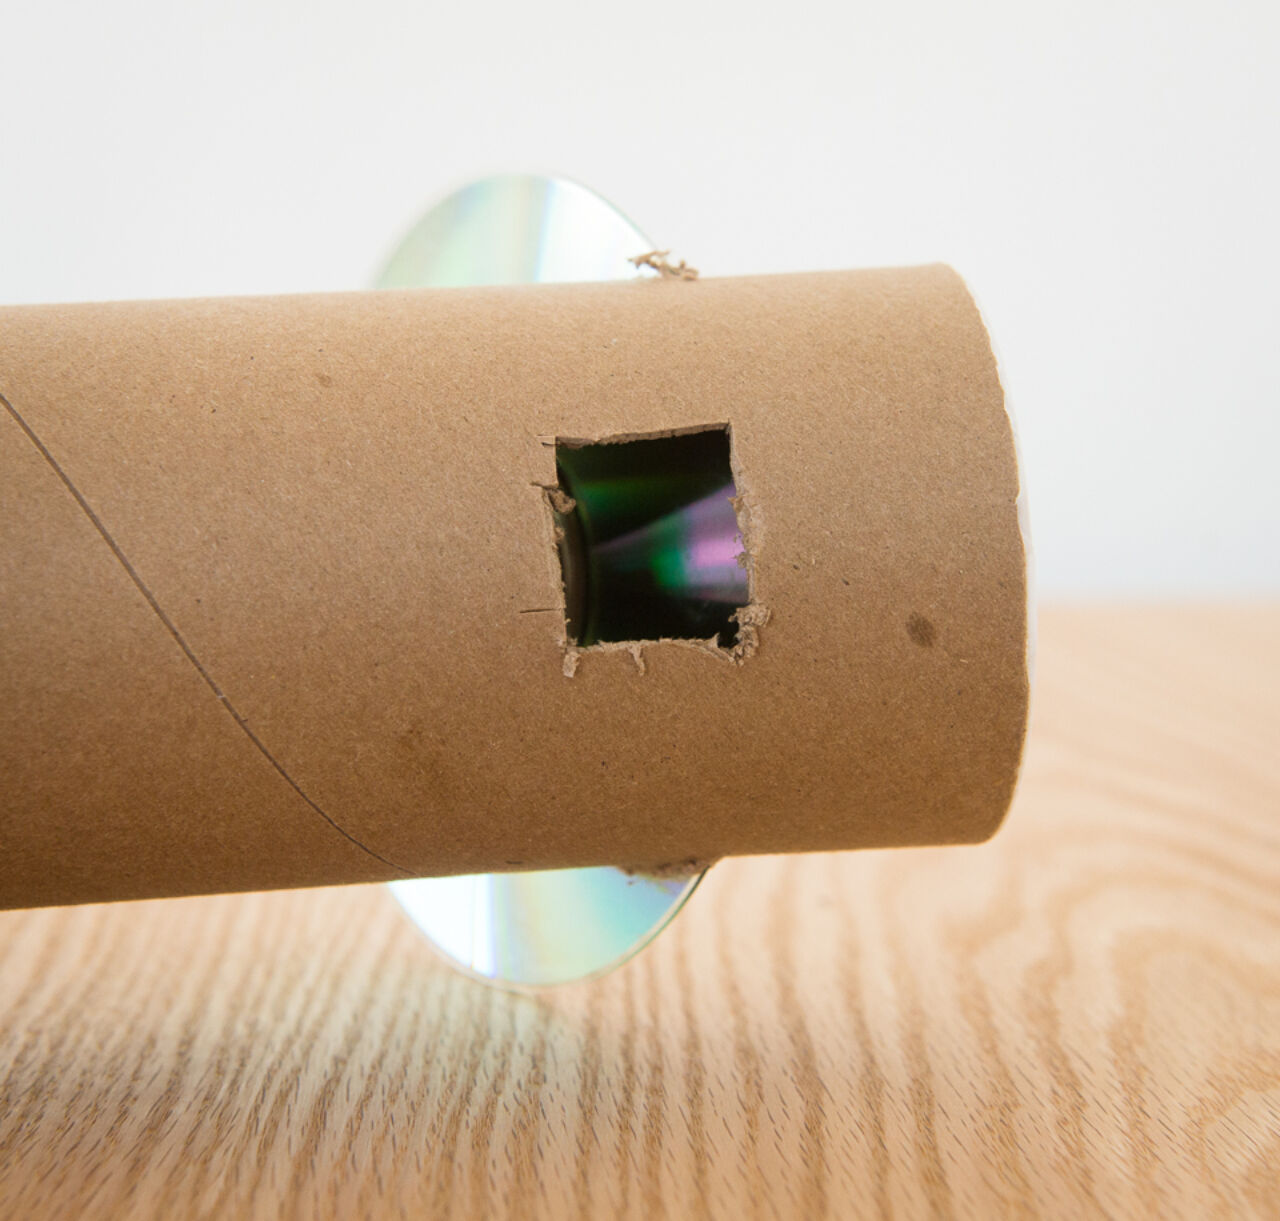
- Use a saw to cut the tube at an angle along the curved line on the cutting guide (see below). The cut will make the CD tilt at an angle approximately 30 degrees from the end of the tube.
- Use a razor knife to cut the rectangular viewing hole—the black square on the cutting guide. You can remove the cutting guide now (see below).
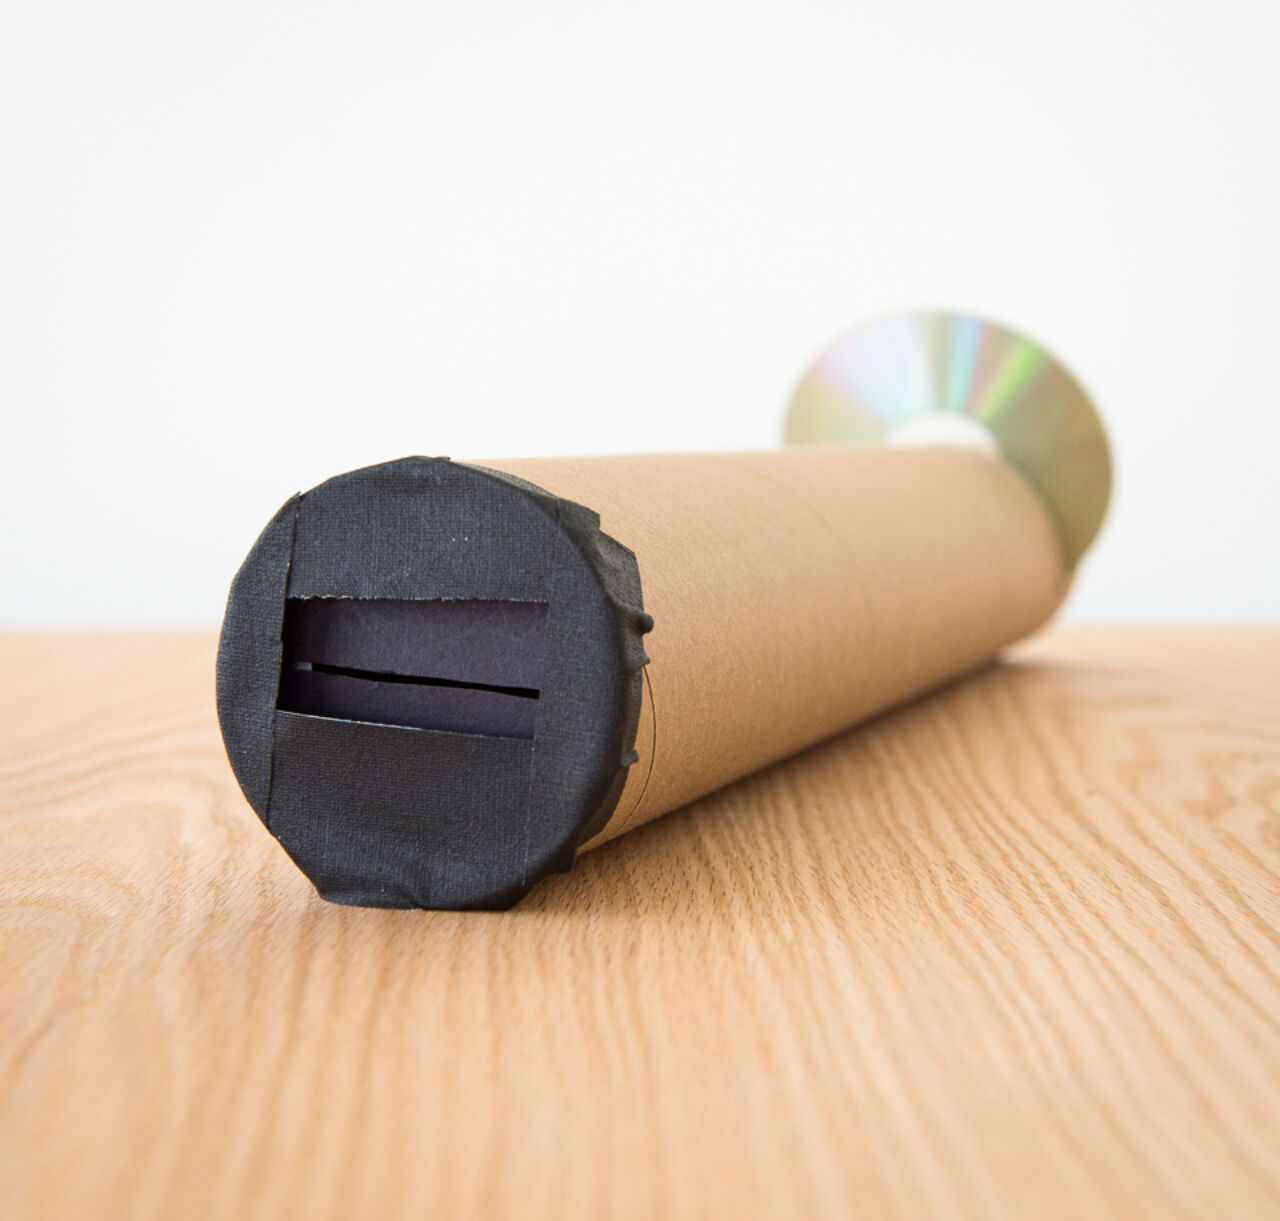
- Next, cut a clean slit less than 1 mm wide and 5 cm long in one of pieces of flat cardboard (or plastic tube cap). Tape the flat cardboard onto the end of the tube furthest from the CD—the top of the tube. Hold the tube as shown below and align the slit horizontally.
- Tape the second flat piece of cardboard (or plastic tube cap) over the bottom end of the tube, behind the CD, to exclude any stray light.
- Insert the CD into the CD slot, so that it reflects the light coming through the top slit into your eye.
Hold the tube upright and point the top slit at a fluorescent light.
Press your eye to the viewing hole.
On the CD, look for a clear, solid line of light broken up into colored bands: this is the spectrum of light reflected from fluorescent light onto the CD.
Adjust the angle at which you look through the viewing hole at the CD to find the best view of the light spectrum.
Notice that the fluorescent light produces bright lines. The bright lines are the spectrum of mercury gas inside the tube. An incandescent light, by comparison, makes a continuous spectrum.
All light is made up of waves of electromagnetic radiation. A spectroscope spreads each different wavelength to a different position within a spectrum of light.
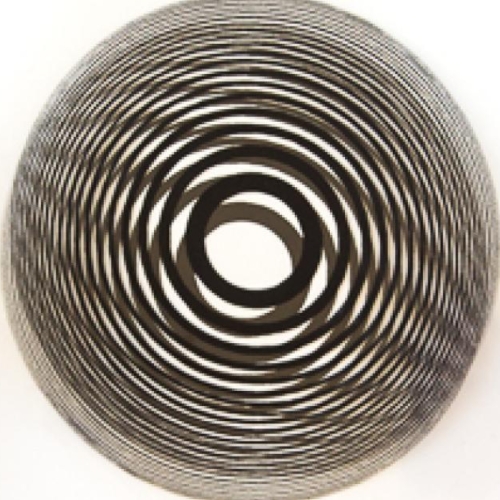
Music is digitally recorded as circular tracks of ones and zeros on the mirrored surface of a CD. These circular tracks are so close together that they can act as a diffraction grating for light.
When the light enters the tube, it is spread into a spectrum perpendicular to the CD tracks. This is why the slit and the viewing hole are located at right angles.
Each color bends at a particular angle. For you to see the spectrum, the light must diffract off the CD and reflect into your eye. Adjusting the tilt of the CD allows you to properly bounce the spectrum into your eye.
